Today we are going to install VMWare Hypervisor on our late 2012 Mac Mini that has been upgraded to 16GB of memory and a second hard drive. For this installation I’ve picked up two of the Verbatim 16 GB Store ‘n’ Stay Nano USB 3.0 Flash Drives, but we will be using only one for this project. The second one will be used as a clone of the original for a “disaster-recovery” setup. Begin by downloading the installer ISO that is custom-tweaked specifically for the Mac Mini 6,2 from HERE (VMWare ESXi 6.0 supports the Mac Mini 6,2 OOTB and cab be downloaded directly form VMware HERE) and head over to the sourceforge website for unetbootin and download the release for your operating system.
This video includes the setup of our first datastore and license key installation.
In Mac OS, we are going to launch Disk Utility and partition the Verbatim USB Drive with a single FAT partition and click options to select Master Boot Record for the partition scheme. Then APPLY the settings.

Launch Unetbootin and select Diskimage and the ISO you downloaded earlier and choose your USB drive for installation and click OK.

When Unetbootin completes the copy to your USB drive reboot your Mac Mini while holding the ATL key on your keyboard to get the boot menu. Select your USB drive as the boot device.

Press ENTER to begin the installation process.

Press F11 to accept the agreement and continue.

Select your Verbatim USB Drive as the destination.

Press F11 to confirm the installation.

After a moment the installation will complete. Press ENTER to reboot.

Hold the ATL key during reboot again to select the USB drive as your boot source.

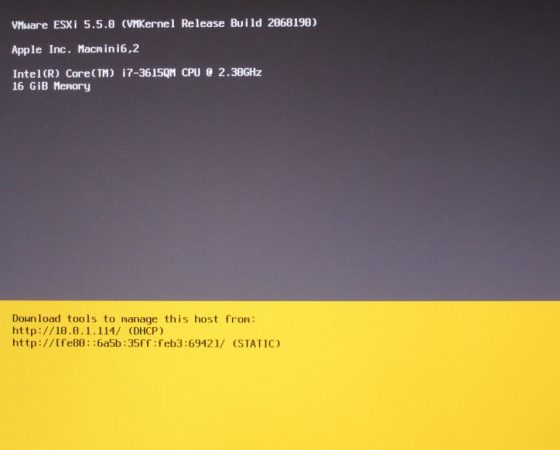
You are now booted into ESXi with your new Mac Mini Hypervisor Server.

Now it’s time to setup the server and install some virtual machines.
Comments are closed.